Description
One of the small issue that i or many of you may have been experiencing is windows puts itself to sleep when not used for some time, This is because of a default setting in windows which first turn off your display after a specified time & then hibernates your computer & put it to sleep. In case you’ve started downloading a big file & you’re away, pc will set itself to sleep & your download will be paused in between, that’s what was happening to me. So i’ve came up with a tutorial to fix this up. Follow guide given below to fix this up for you as well.
Instructions
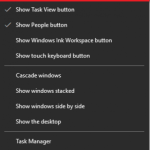
- First of all, Click start menu & search for “Control Panel” & open it.
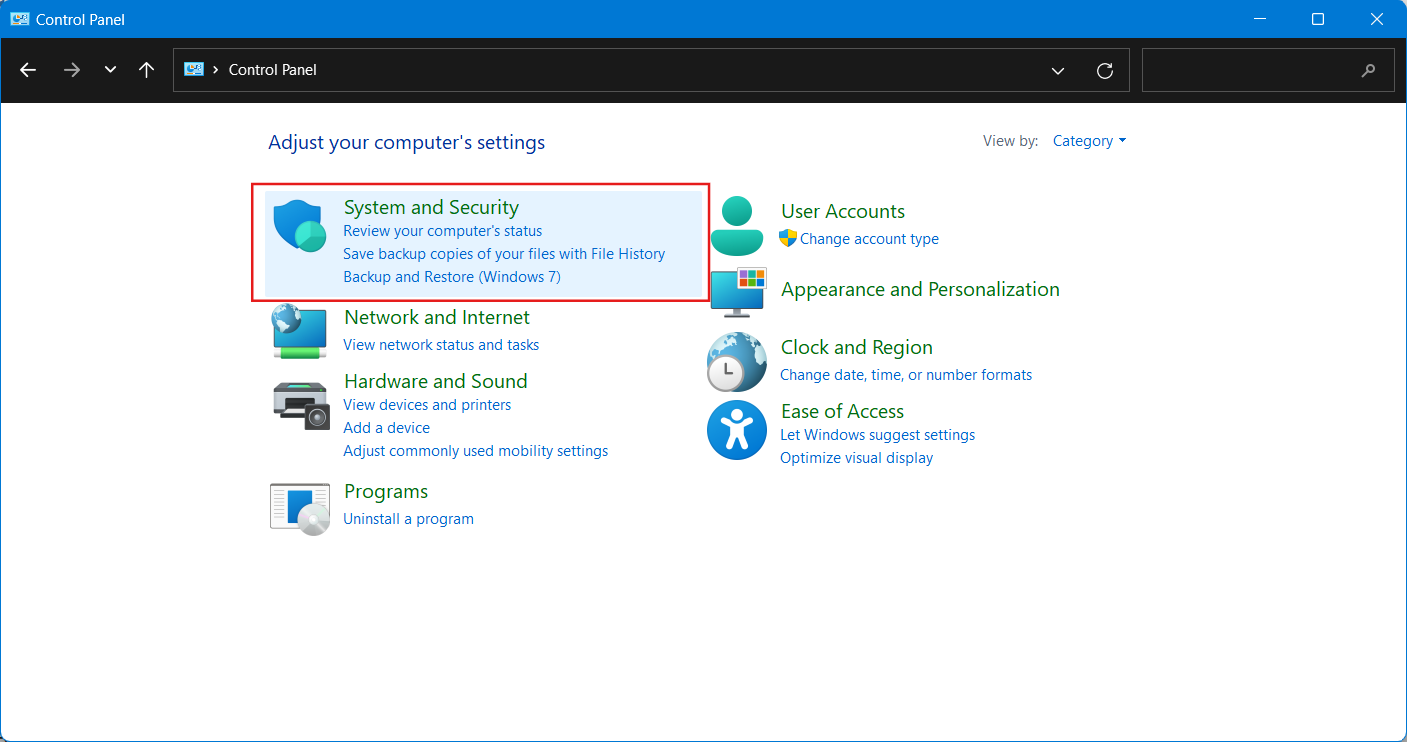
- Now make sure that “Sort by:” is selected as “Category” & then click on “System & Security”.
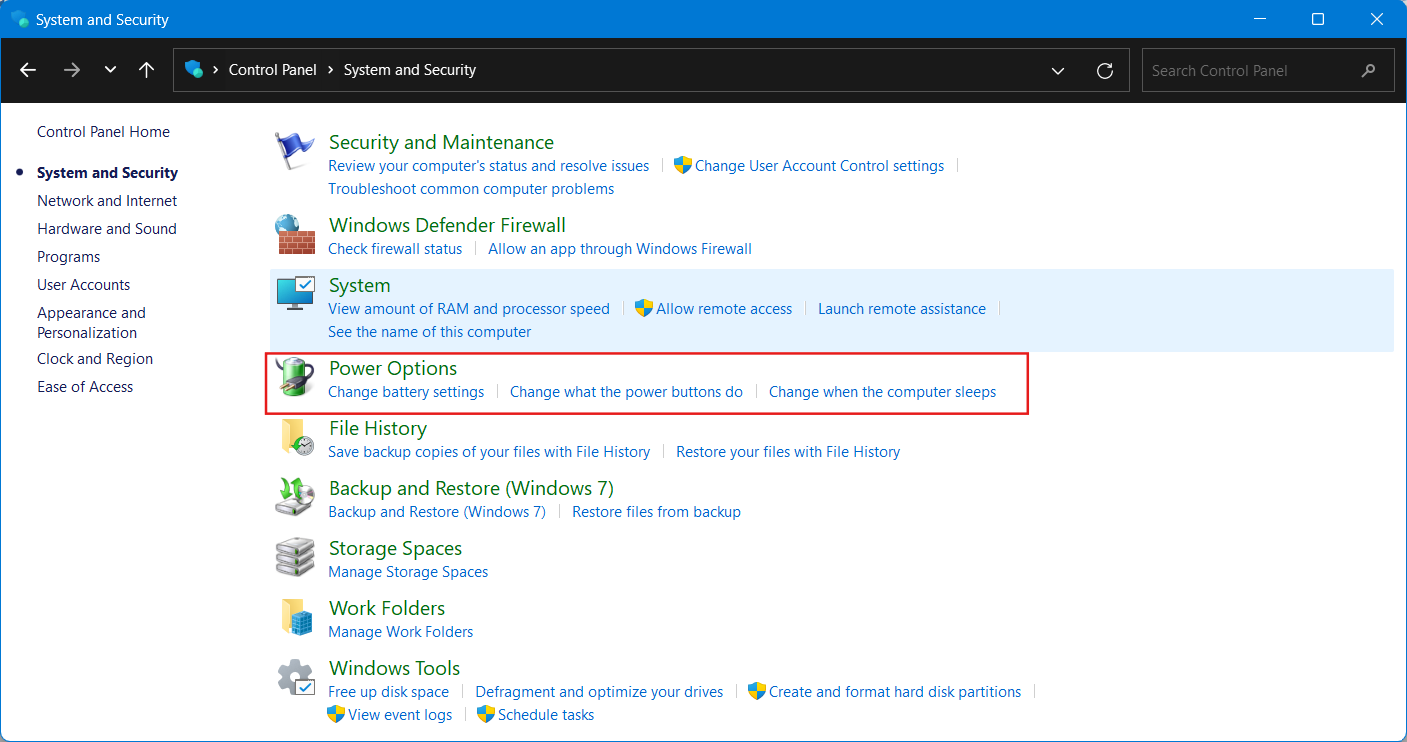
- Now under “Power Options”, Click on “Change Battery Settings” (or you can simple click on “Power Options” itself)
- After you’re into battery settings window, click on “Change Plan Settings”.
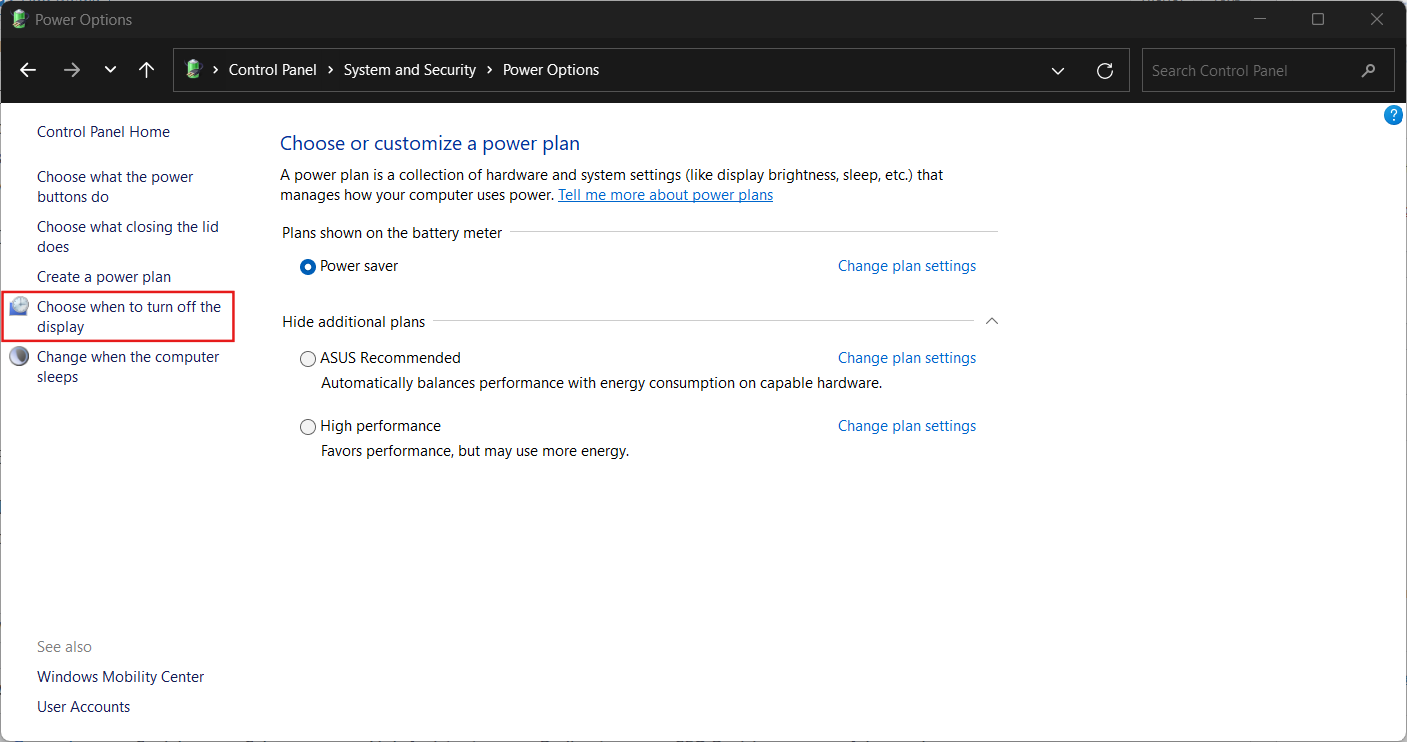
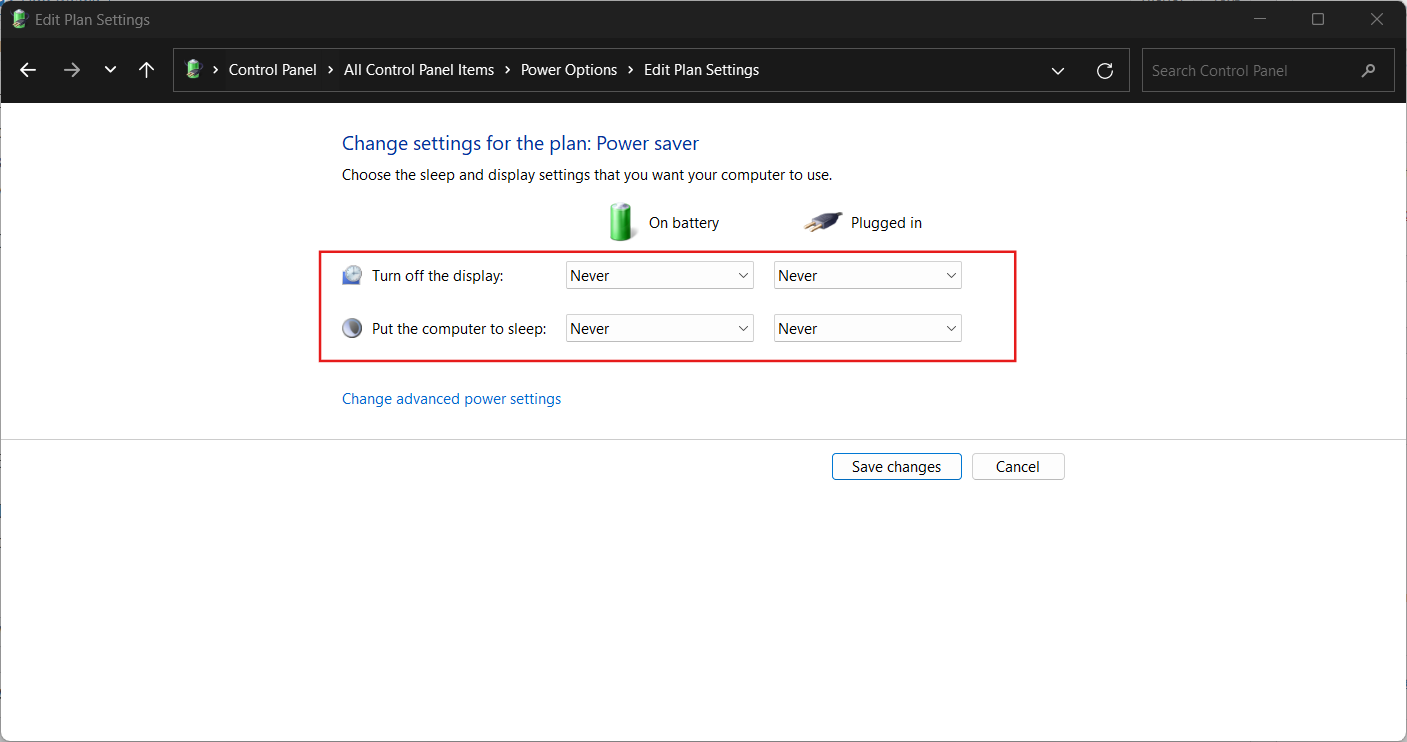
- Now click on each dropdown menu & set them to “Never” & Once done, click on “Save changes” button at the bottom.
Final Notes
The first option on the last step “Turn off the display” is optional but its recommended, because when display is turned off, you can’t monitor progress of task you have started. That’s it for this tutorials, I hope you’ve liked it.